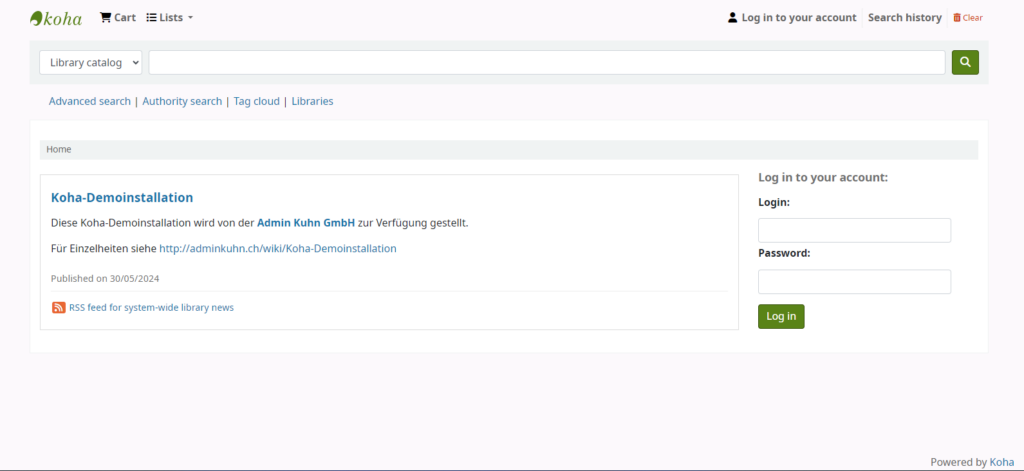
The OPAC page of Koha that comes with the installer will look like the one shown below.
Before Customisation
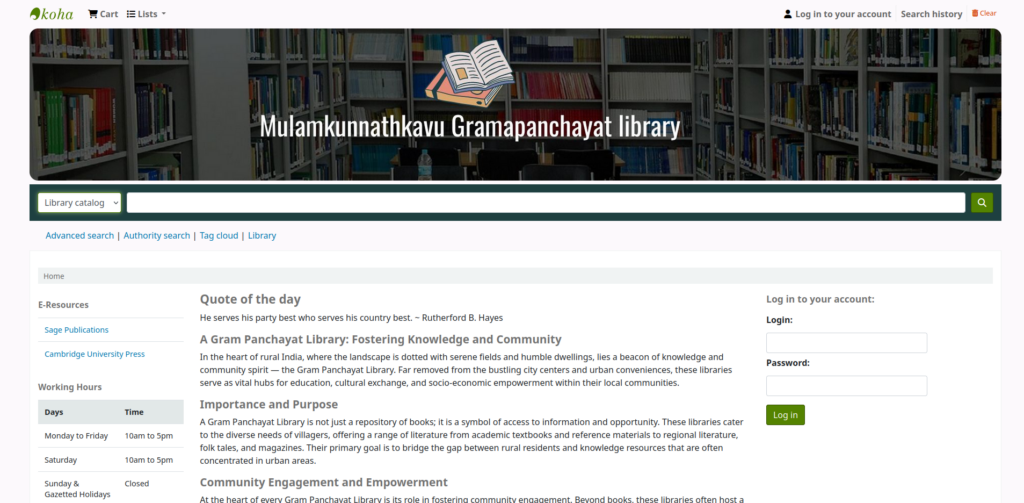
After Customisation
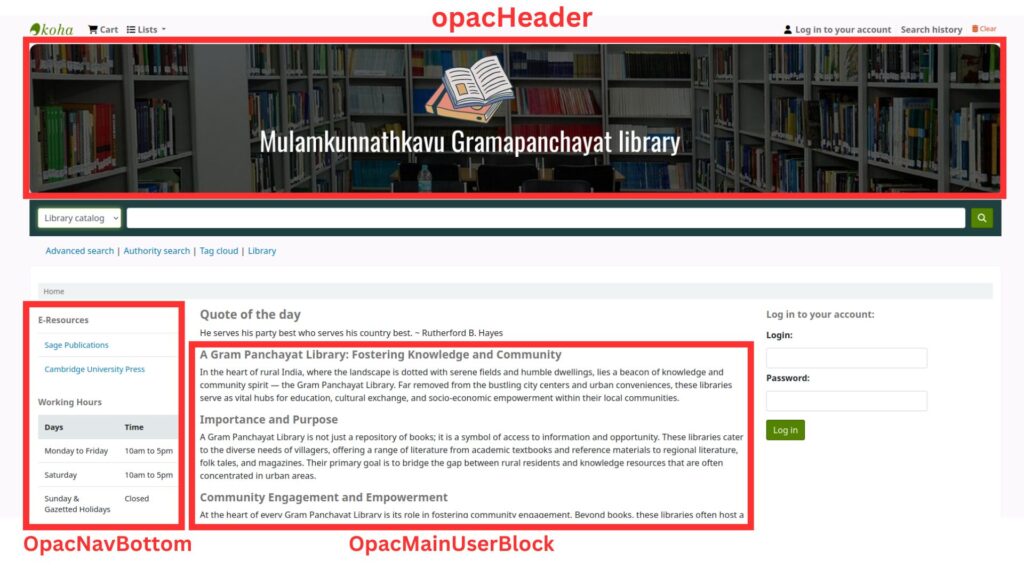
To customize the Koha OPAC, it’s essential to understand the OPAC Page Sections. There are three main sections in the OPAC Page: opacHeader, OpacNavBottom, and OpacMainUserBlock. I have marked these sections in the image below for your reference.
Step 1: Adding an Image to the OPAC Header
- Create a Banner
- Design a Banner image with dimension 1920 x 300 pixels and save it with the name banner.jpg . you can use canva / photoshop etc to design your banner
- Copy the banner.jpg file to /usr/share/koha/opac/htdocs/opac-tmpl/bootstrap/images
- Code Customisation
- Log-in to Koha Librarian Portal with super librarian credentials
- Navigate to Tools -> Additional Content -> HTML customization it will open a page
- There you can see several options like opacheader, OpacMainUserBlock, CatalogConcernHelp,
CatalogConcernTemplate, OpacNavBottom
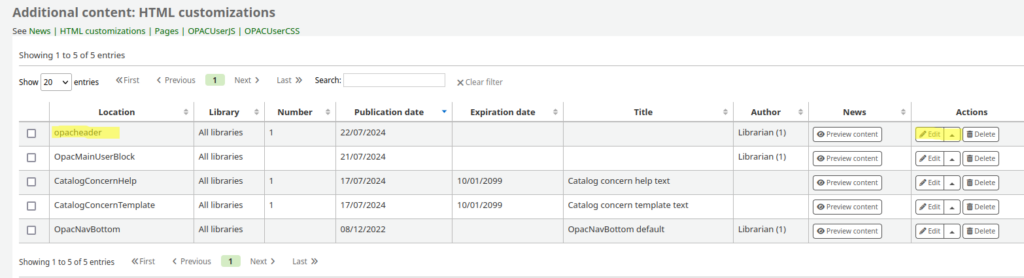
in the above Click the edit button against opacheader it will open a page in which select the publication date and then click the source code button under content area
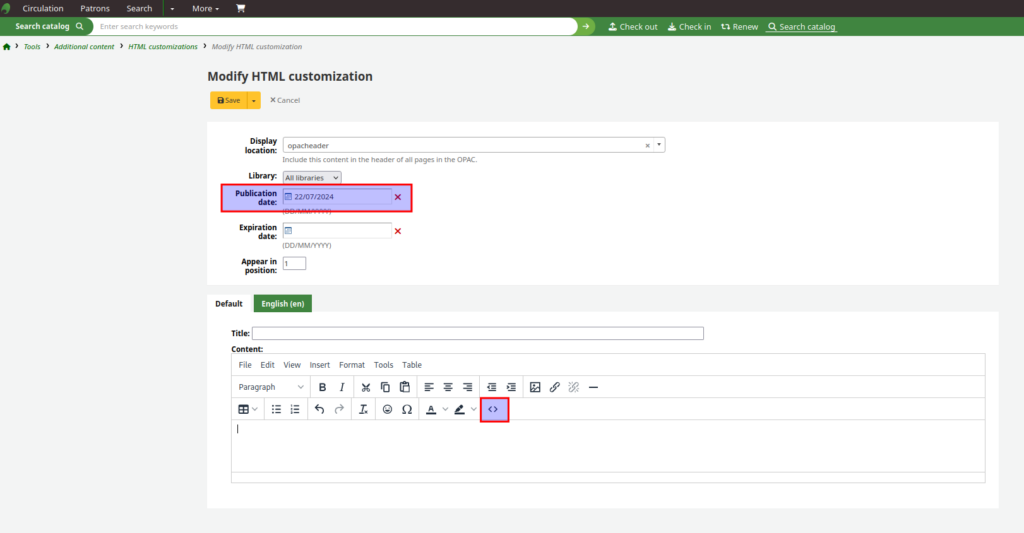
once after clicking the source code button it will pop a source code area in which paste the bellow code and save it
<div id="banner"><img src="/opac-tmpl/bootstrap/images/banner.jpg" alt="Banner Image" width="100%" /></div>
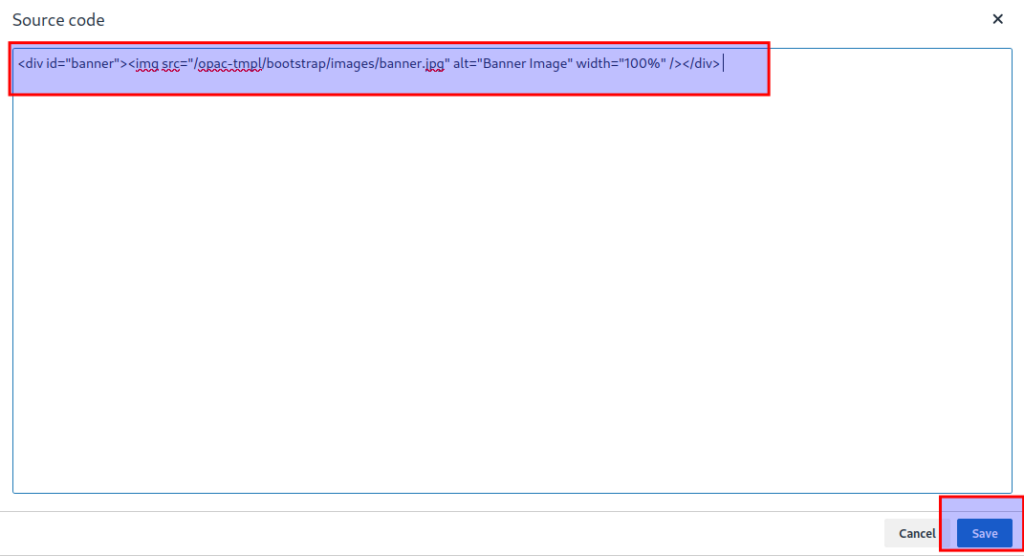
After Clicking the save Button . it will Redirect to the previous page again press the save button on the the page. Then visit the OPAC page. now the header image adding is completed
Step 2: Adding E-resources & Working Hours to OpacNavBottom Section
- Code Customisation
- Navigate to Tools -> Additional Content -> HTML customization it will open a page
- There you can see several options like opacheader, OpacMainUserBlock, CatalogConcernHelp, CatalogConcernTemplate, OpacNavBottom
- In the above Click the edit button against OpacNavBottom it will open a page
- In which click the Source Code Button under content area and paste the following code in it and edit it according to your requirement
<table class="table">
<caption>E-Resources</caption>
<tbody>
<tr><td><a href="http://www.epw.in/" target="_blank" rel="noopener">Economic & Political Weekly</a></td></tr>
</tbody>
</table>
Working Hours Table:
<table class="table">
<caption>Working Hours</caption>
<tbody>
<tr><td>Monday to Friday</td><td>10am to 5pm</td></tr>
<tr><td>Saturday</td><td>10am to 5pm</td></tr>
<tr><td>Sunday & Gazetted Holidays</td><td>Closed</td></tr>
</tbody>
</table>
Save the Changes and check your OPAC for changes
Step 3 : Adding Additional Contents in OpacMainUserBlock
- Code Customisation
- Navigate to Tools -> Additional Content -> HTML customization it will open a page
- There you can see several options like opacheader, OpacMainUserBlock, CatalogConcernHelp, CatalogConcernTemplate, OpacNavBottom
- In the above Click the edit button against OpacMainUserBlock it will open a page
- In which click the Source Code Button under content area and paste the following code in it and edit it according to your requirement
<div>
	<h2>Welcome to Our Library!</h2>
	<p>Explore our collection of books, journals, and digital resources.</p>
	<p>Visit us today or browse our catalog online.</p>
</div>
You can add any HTML Code according to your wish and customise the same as per your requirement. those who were not familiar with HTML code may use the help of AI Tools
Step 4 : Adding Custom Styles to your OPAC
Navigate to Administration –> System preferences –> opac
in the opac page navigate to Appearance Section
under Appearance section click edit on OPACUserCSS
#opac-main-search {
  background: #1e4040;
}
#banner img{
  border-radius: 1em;
}

You can add Any Style elements according to your wish. or may edit my style code with the color code which you want
Step 5 : Adding Favicon in Koha
- Prepare a favicon for your website
- favicon extension .ico
- favicon 16×16 pixels
- Upload the Favicon to the Opac Directory
- Path to upload the .ico file : /usr/share/koha/opac/htdocs/opac-tmpl/bootstrap/images
Step 6 : Adding Quotes to OPAC
Enable Quotes in Settings
Navigate to Administration –> System preferences –> opac
in the opac page navigate to Features Section
under features section near QuoteOfTheDay option select opac and staff interface and save all now the availables quotes in our database will be displayed in opac and staff client portals
Step 7 : Upload Quotes to Koha
Individual Uploading of Quote
Navigate to Tools–> Quote Editor –> New Quote
It will open a page in which add author/person name in source field and the Quotation in Text area field
Bulk Uploading of Quote
- Prepare CSV File:
- Create a CSV file with two columns: source and text.
- The file should contain your quotes, with each row representing one quote.
- Upload CSV File:
- Navigate to Tools–> Quote Editor — Import Quotes Button
- Click on the “Browse” button and select the CSV file you created.
- Click on “Upload File”.
- The quotes will be imported into an editable table for review.
- Review and Save:
- Review the imported quotes in the table.
- Make any necessary edits or corrections.
- Click on “Save” to finalize the quotes.
I extend my heartfelt appreciation to Mr. Ashfaq Anwar C K, Consultant IT at KILA, for his invaluable assistance in preparing this document.