Koha offers a graphical user interface (GUI) for configuring an SMTP server. Below are the steps to set up the SMTP server using Gmail
Gmail Specific Configuration
These steps are to be followed by Gmail users only. Others may proceed directly to the SMTP configuration step
Create Google App Password
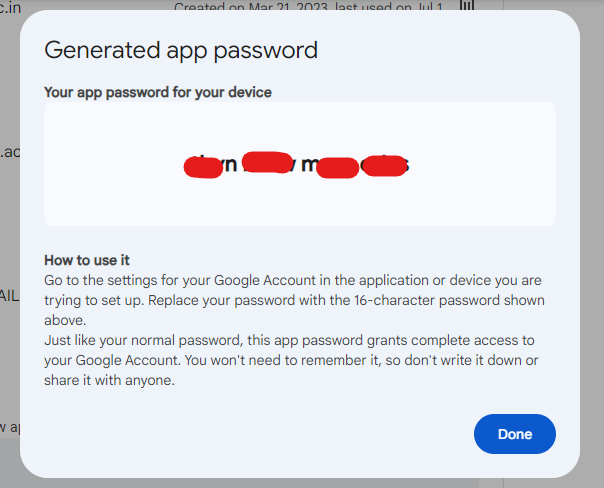
A Google app password is a 16-digit passcode that allows less secure apps or devices to access your Google Account. This is particularly useful for apps or devices that don’t support “Sign in with Google” and require direct access to your account.
App passwords can only be used with accounts that have 2-Step Verification enabled . Visit the Google Support Portal to learn how to enable two-step verification
Step 1: Enable Two Step Verification and create app password
To enable two step verification click on the link https://myaccount.google.com/security it will ask you to login to your gmail account use your Username and Password to Login
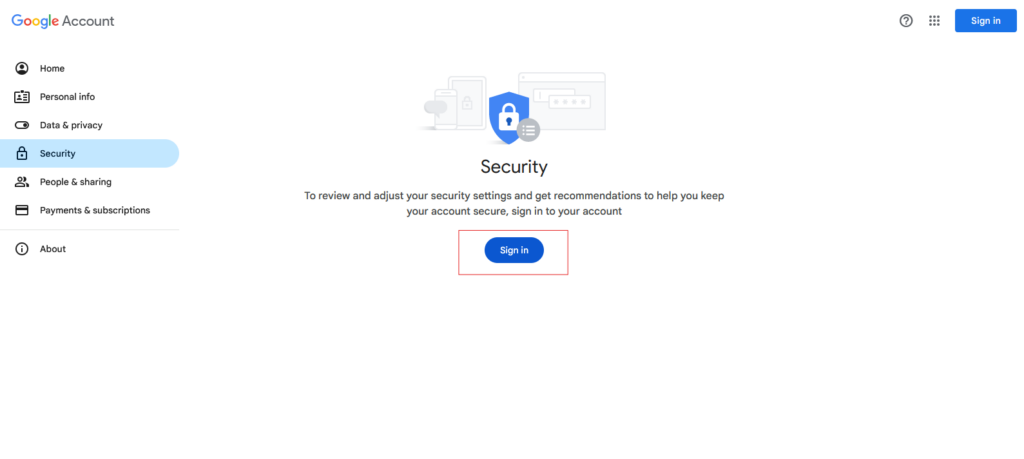
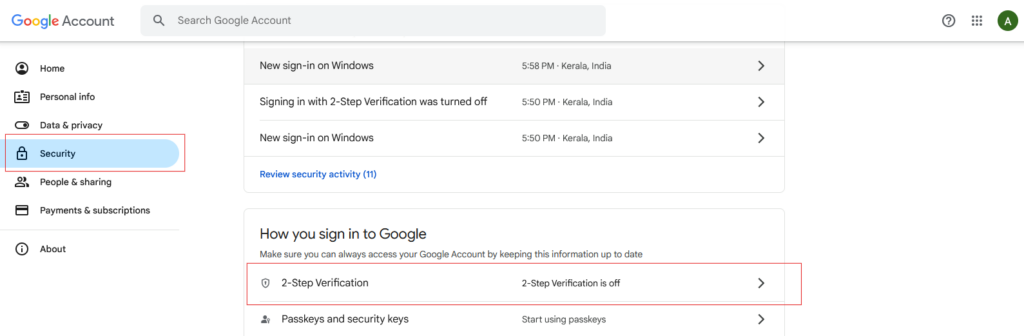
Select “Security” from the left-hand menu.
Under the “How you Signing in to Google” section, click on “2-Step Verification”.
Click on “Get Started” and enter your password to verify your identity.
Choose your preferred method to receive verification codes (e.g., text message or phone call) and enter your phone number.
Enter the code you receive and click “Next”.
Click “Turn On” to enable two-step verification.
Visit the Google Support Portal to learn how to enable two-step verification
After Enabling two step verification Click on the link to Create App Password https://myaccount.google.com/u/1/signinoptions/twosv
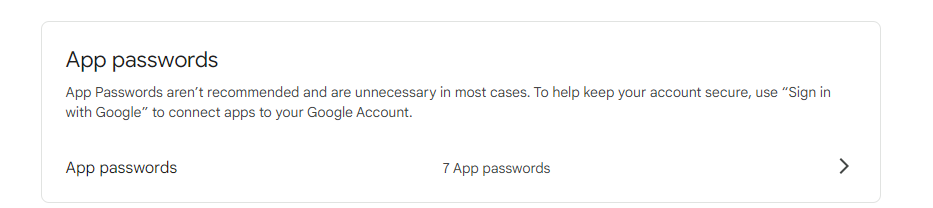
Click on the > near app password option to Create new App Password For Koha
It will Ask you to type the app name type “koha” and click the create button
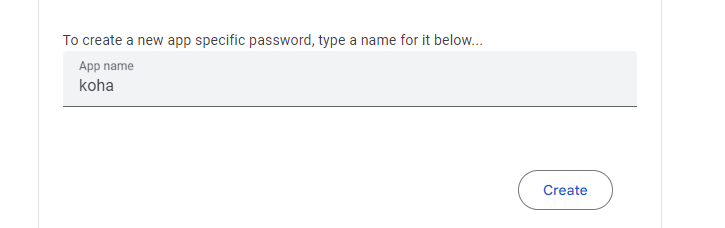
Now it will create the app password for us. note the app password and dont share it with anyone else
Step 2: SMTP Configuration
Login to Koha Staff Client
Open Administration > Additional Parameters > SMTP Servers > New SMTP Server.
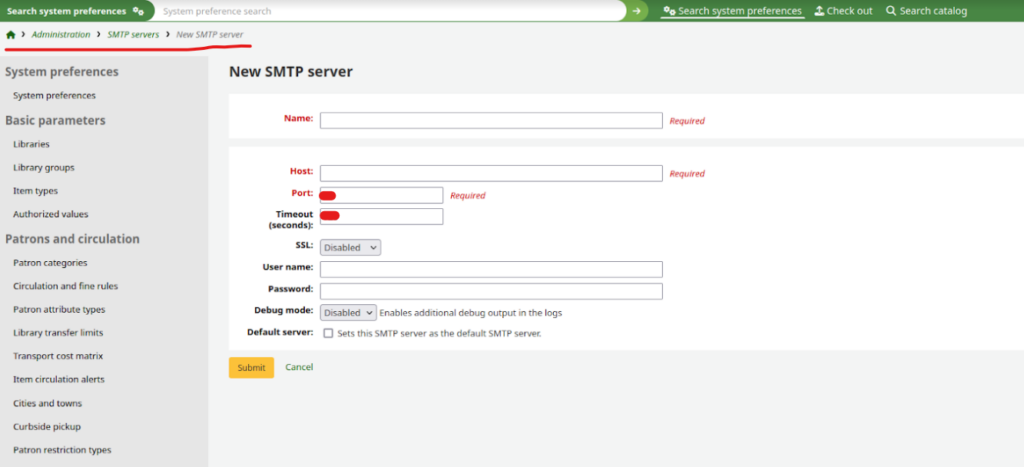
For those using Gmail, please fill in the screen with the following details. Others may use the SMTP configuration details provided by their respective email service providers
Name : Gmail Configuration
Host : smtp.gmail.com
Port : 587
Timeout (seconds) : 120
SSL : STARTTLS
Username : Enyer your Gmail Address Here
Password : Enter the app password which you have copied in the earlier step
Debug Mode : enabled
Default server : Select it
CLick the submit Button to save the SMTP Configuration
Step 3: Enable Email Services in Koha Instance
Open a Terminal with root Privilage and apply the bellow command
sudo koha-email-enable library
Now Open Koha Software and login with Librarian Credentials and make Necessary Changes mentioned Bellow
Administration > Global System Preferences > Patrons > Enhancedmessagingpreferences > Allow
Administration > Global System Preferences > Patrons > EnhancedmessagingpreferencesOPAC > Show

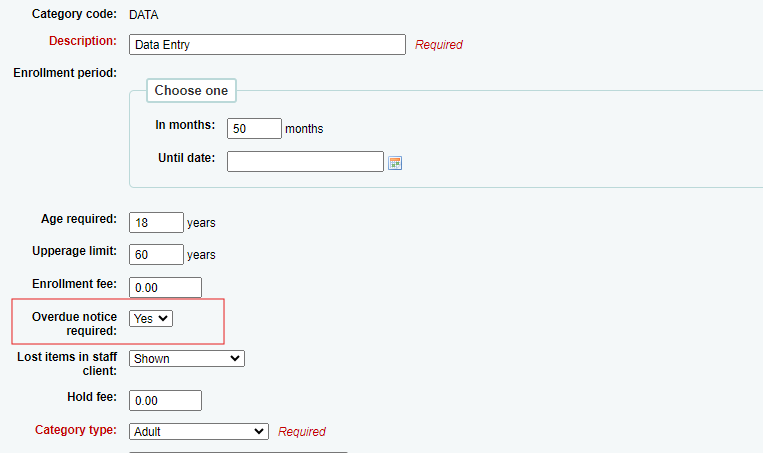
Visit Administration > Patron categories and edit individual categories and then select Overdue notice Required to Yes
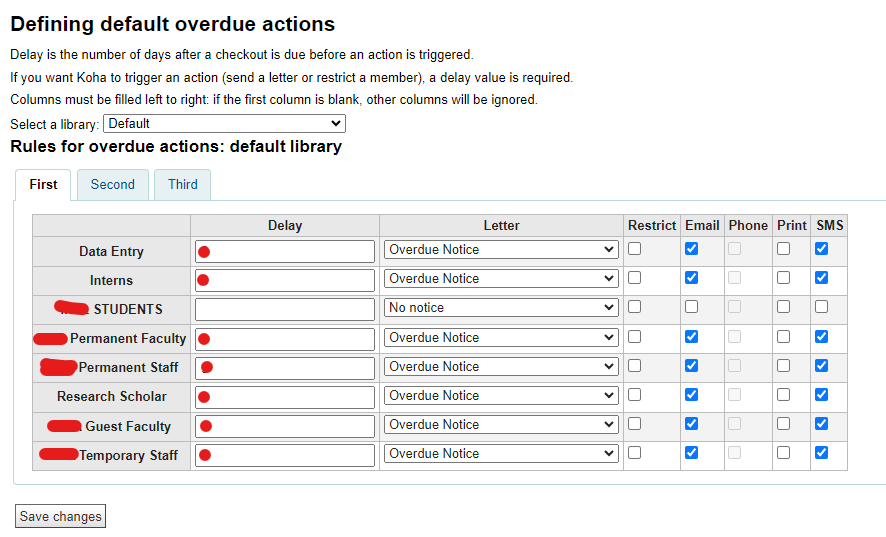
Now Defining default overdue actions
Koha > Tools > Overdue Notice/status triggers
Set Overdue Notices and Triggers for each patron Category
Delay is the number of days after a checkout is due before an action is triggered.
Now the Process of Email Notifiation Completed