Koha 23.11.06 Minimum System Requirement
Hardware Requirements
- Processor: Minimum Pentium 4 or equivalent (More powerful processors are recommended for better performance)
- Memory : Minimum 2 GB RAM (4 GB recommended)
- Hard Drive: Minimum 20 GB free space (more recommended depending on library size) SSD Recommended
Software Requirements
- Operating System
- Debian 12 / 11 / 10
- Ubuntu 22.04 / 20.04
- Database
- MariaDB 10.6 / 10.5 / 10.3
- Search Engine
- Zebra
- ElasticSearch 8.x / 7.X
- OpenSearch 2.x / 1.x
- Perl
- Perl >= 5.14 is required and versions shipped with the above operating systems are recommended
Installation Steps
Preparing Debian Source list
Before Proceeding installation we need update our debian source list . follow the steps to update debian source list for Debian12(BookWorm)
Enter the following commands as root user
su
it will ask for your root password enter it and proceed
sudo nano /etc/apt/sources.list
the above command will open a file with some entries . delete all the entries in it copy paste the bellow lines which is in red colour to it and save the file (if required you will get the source list for other versions from the debian source list wiki)
deb http://deb.debian.org/debian bookworm main contrib non-free non-free-firmware
deb-src http://deb.debian.org/debian bookworm main contrib non-free non-free-firmware
deb http://deb.debian.org/debian-security/ bookworm-security main contrib non-free non-free-firmware
deb-src http://deb.debian.org/debian-security/ bookworm-security main contrib non-free non-free-firmware
deb http://deb.debian.org/debian bookworm-updates main contrib non-free non-free-firmware
deb-src http://deb.debian.org/debian bookworm-updates main contrib non-free non-free-firmware
Update and upgrade the Repository with new source list
sudo apt update && sudo apt upgrade -y
Installing Basic Packages
sudo apt install -y software-properties-common dirmngr file-roller wget gnupg2 mousepad
Adding Koha Repository
Add Koha software channel into Debian. in my installation am using old stable version of Koha. for more information on Koha version visit Koha Wiki
Add the GPG key for Koha
sudo sh -c 'wget -qO - https://debian.koha-community.org/koha/gpg.asc | gpg --dearmor -o /usr/share/keyrings/koha-keyring.gpg'
Add the Koha Repository
sudo sh -c 'echo "deb [signed-by=/usr/share/keyrings/koha-keyring.gpg] https://debian.koha-community.org/koha oldstable main" >> /etc/apt/sources.list.d/koha.list'
Update and upgrade the Repository with new source list
sudo apt update && sudo apt upgrade -y
Install Koha
The following command will install Koha (Oldstable) Version
sudo apt install -y koha-common
Server configuration
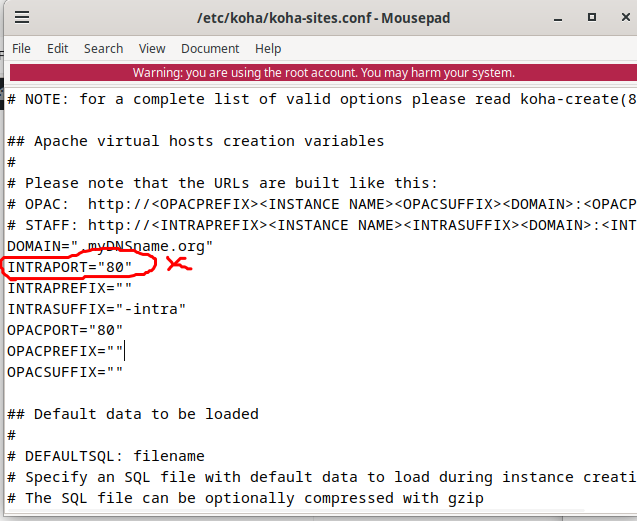
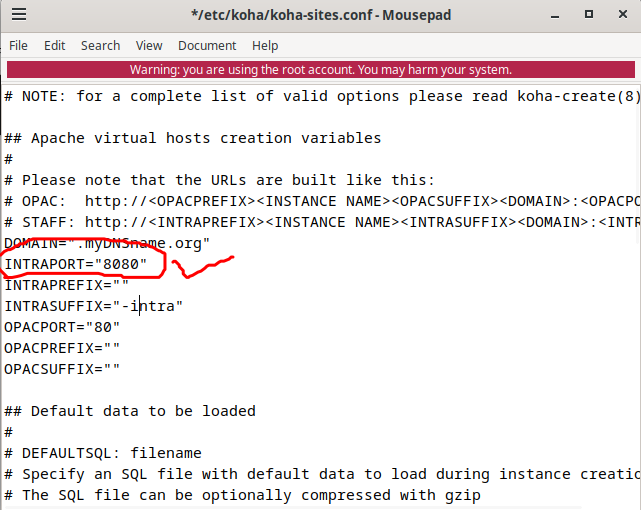
We need to edit network configurations and the domain name configurations in koha network settings. the bellow command will open a file in which change the INTRAPORT=”80″ to INTRAPORT=”8080″
sudo mousepad /etc/koha/koha-sites.conf
Before Change
After Change
Install MariaDB server
sudo apt install -y mariadb-server
Assign Root password for MariaDB
sudo mysqladmin -u root password newpass
replace ‘newpass’ with your original password and remember it
Web server Configurations
Execute the bellow commands one by one to configure web server
sudo a2enmod rewrite
sudo a2enmod cgi
sudo service apache2 restart
Koha instance creation
sudo koha-create --create-db library
Web server Port Configuration
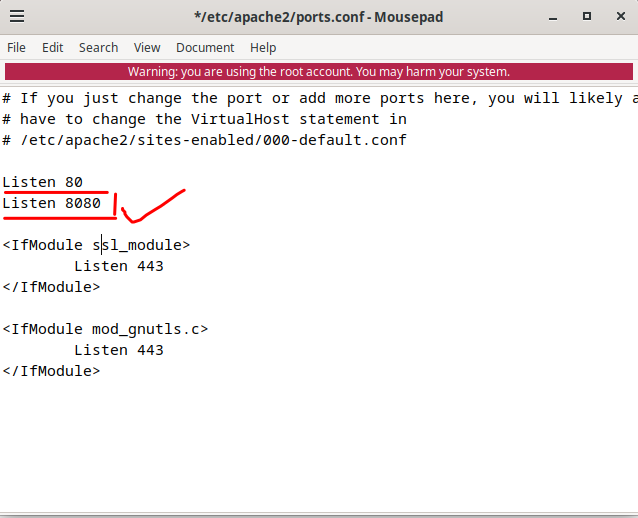
By default the web server will listen to port 80 only . In our case we were executing the OPAC portal on port 80 and Librarian portal on port 8080 so we need to reconfigure Apache port configuration to listen to port 8080 too
sudo mousepad /etc/apache2/ports.conf
Copy-paste the following line below Listen 80
Listen 8080
Restart web server
sudo service apache2 restart
Enable necessary modules, disable unwanted virtual hosts and enable koha virtual host
sudo a2dissite 000-default
sudo a2enmod deflate
sudo a2ensite library
sudo service apache2 restart
sudo service memcached restart
“Now that we have completed the installation of Koha, our next step is to begin the initial configuration. There are two approaches: one involves starting from scratch, while the other utilizes a pre-configured database. For beginners, the pre-configured database option is simpler. If you prefer to configure from scratch, click on the ‘Scratch Configuration’ below and follow the steps. Alternatively, if you want an easier way, choose the ‘Configure from Pre-configured DB’ option and follow the provided steps.” 😊
Option 1 : Configuring Koha From Scratch
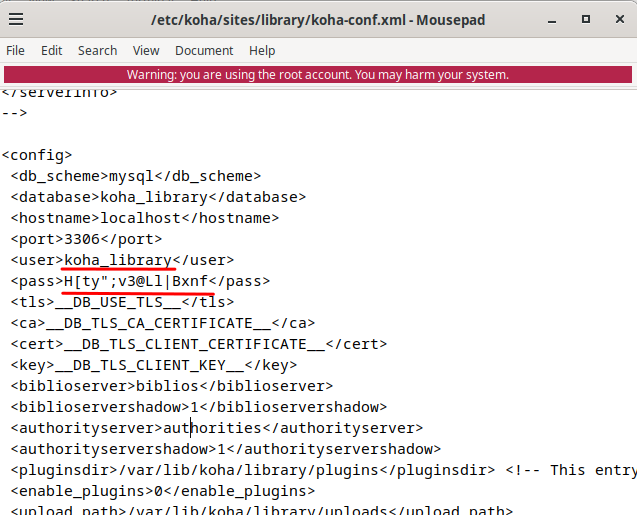
To proceed further we need to know the default credentials to login in to the librarian portal . We will get the default credentials from the koha configuration file . apply the bellow command in terminal , it will open a file in which find the section of mysql configuration , and note down the database username and password available in your configuration
sudo mousepad /etc/koha/sites/library/koha-conf.xml
After this you have to Open the following link in the web browser to open the staff client of Koha and set up the library from scratch
http://127.0.1.1:8080
this will popup a credential page in which provide the username and password which you have noted in the previous step
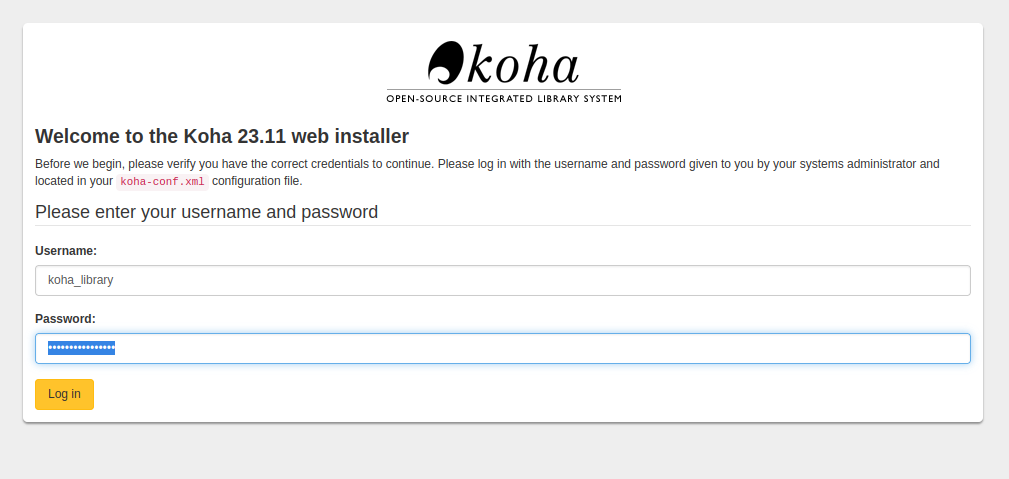
Click the login Button.
Now it will ask for the Language to Chose. Chose the Language you want,. in my case am selecting English

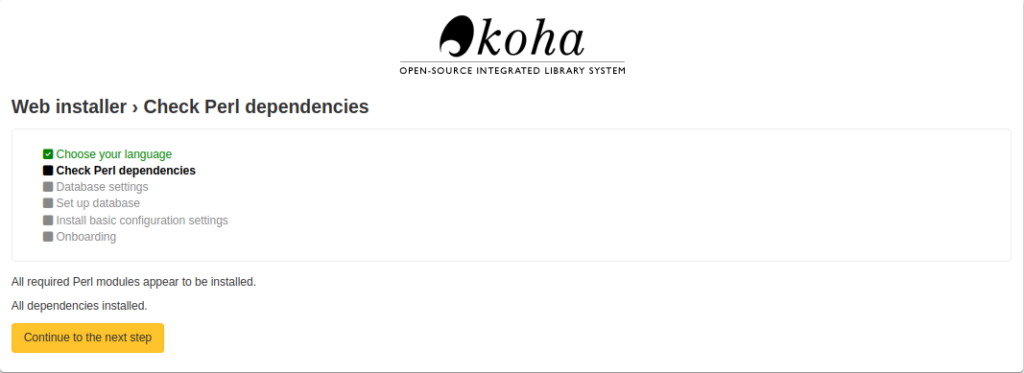
Next Step it will check for the perl Dependencies click next
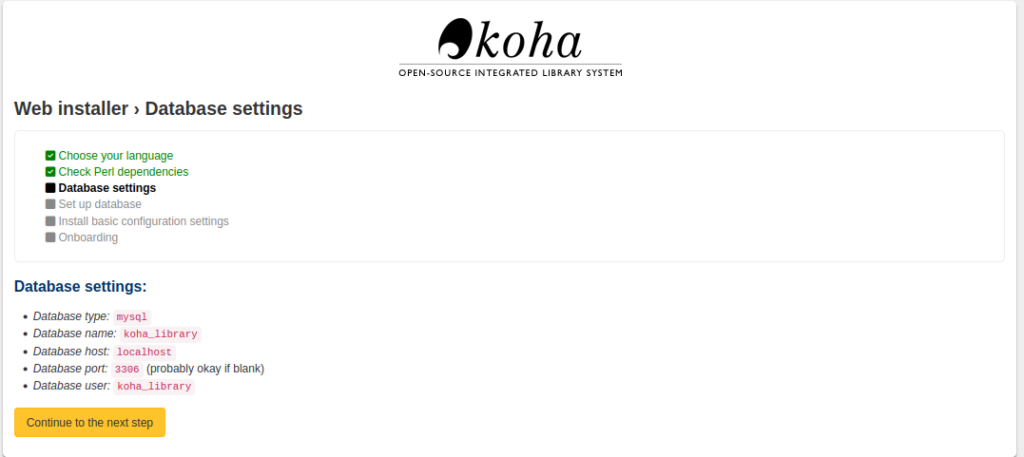
Next it will check the database configuration. click next
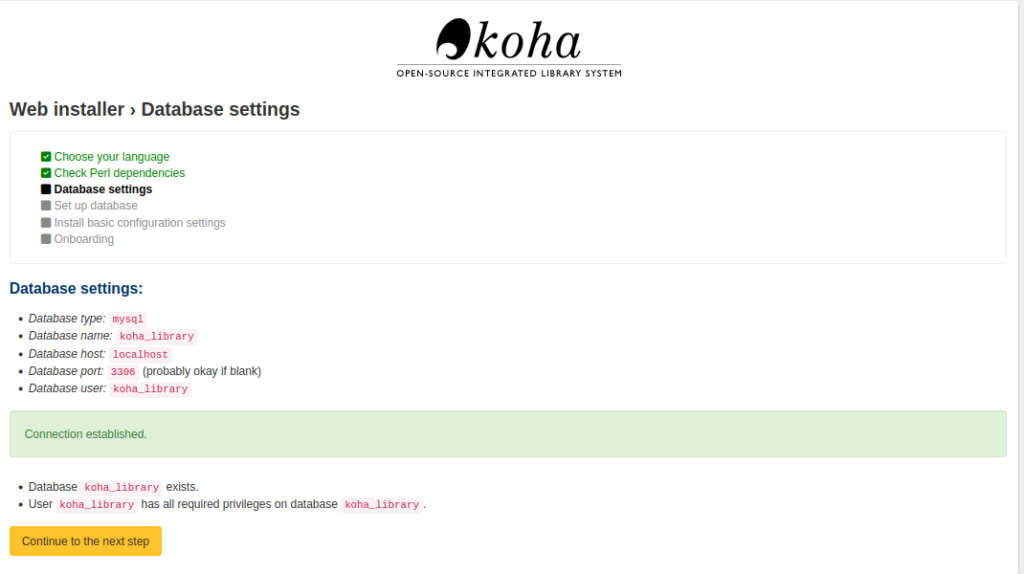
Then it will check for the Koha database presence . click next
Next it will setup the database tables. click next
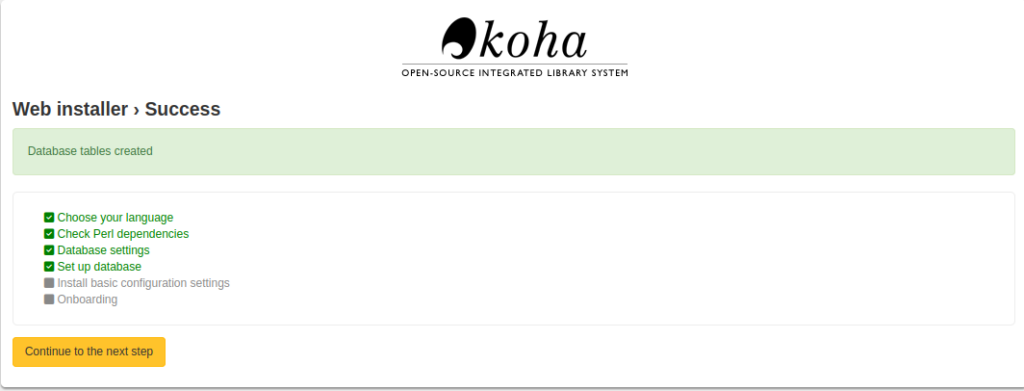
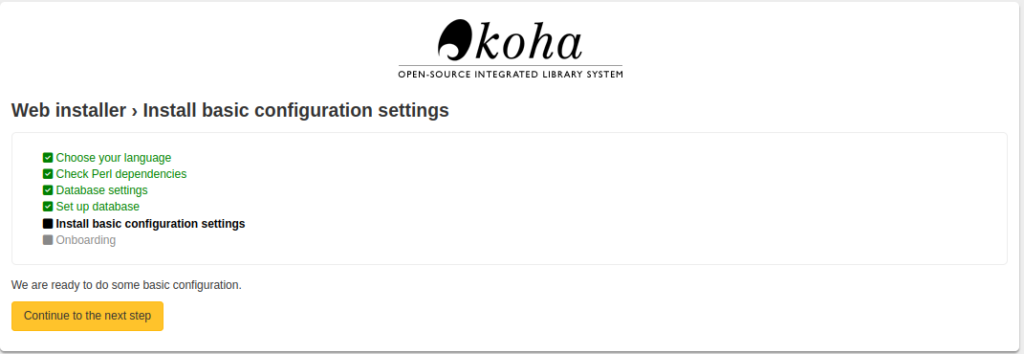
Next it will do initiate the basic configurations click next
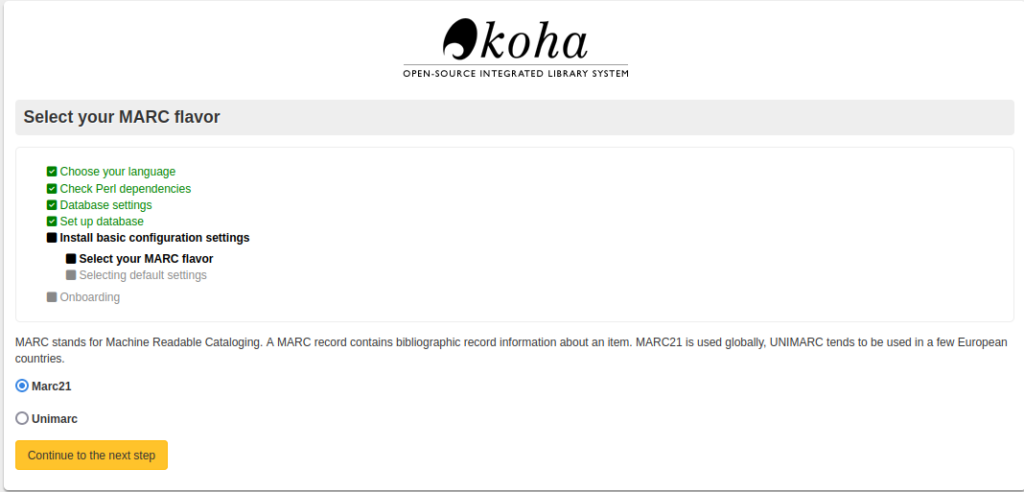
Now it will ask for the MARC standard to follow in our library. in my case i have selected MARC21
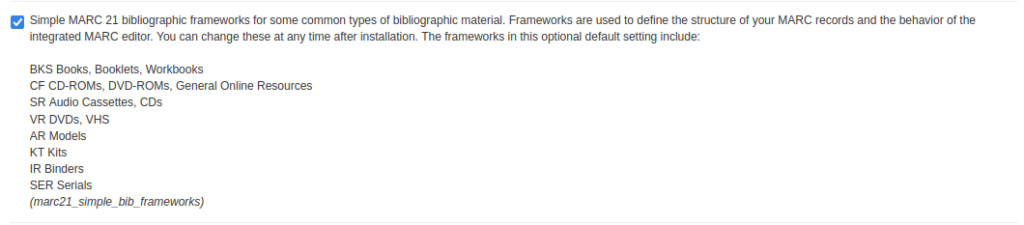
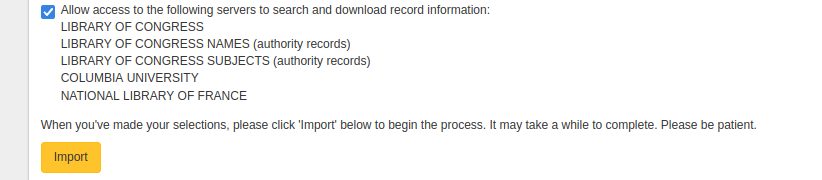
Now the Default Configurations Page will come. select the below options in your screens to start a smooth onboard. After Selecting this press the import button


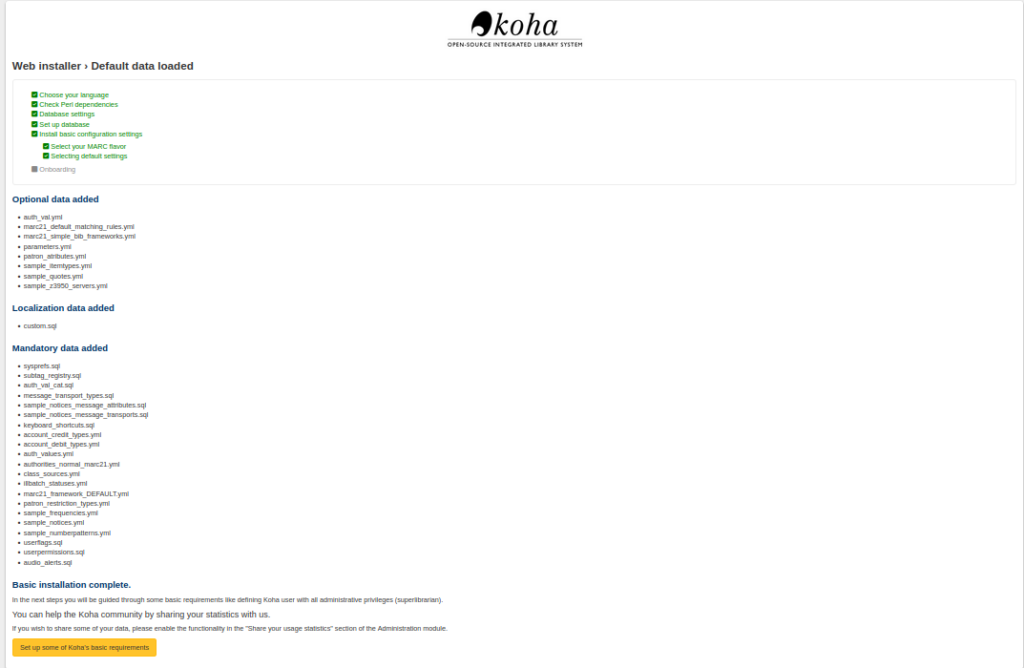
Now it will go to the Last On boarding Step, Click Setup Button to Configure Default koha Configuration
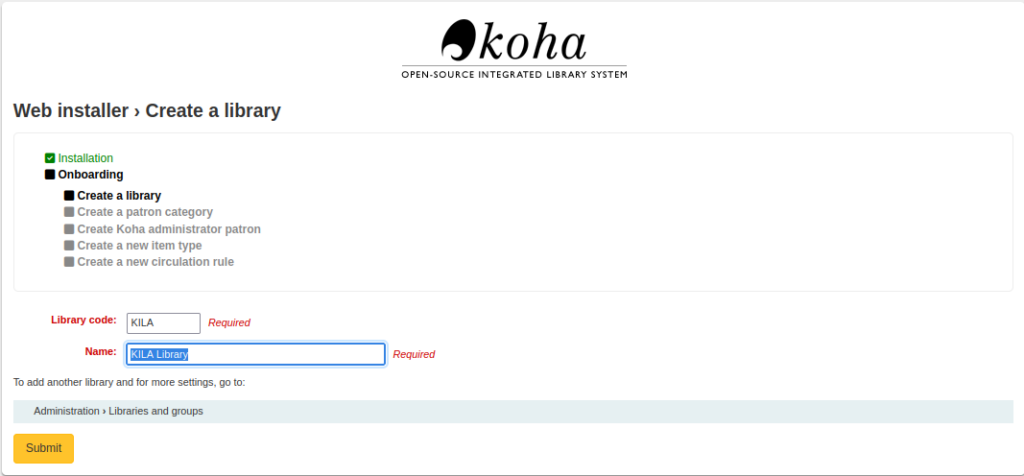
Now It Will ask for the Library Code and Library Name. Provide it and Click the Next Button
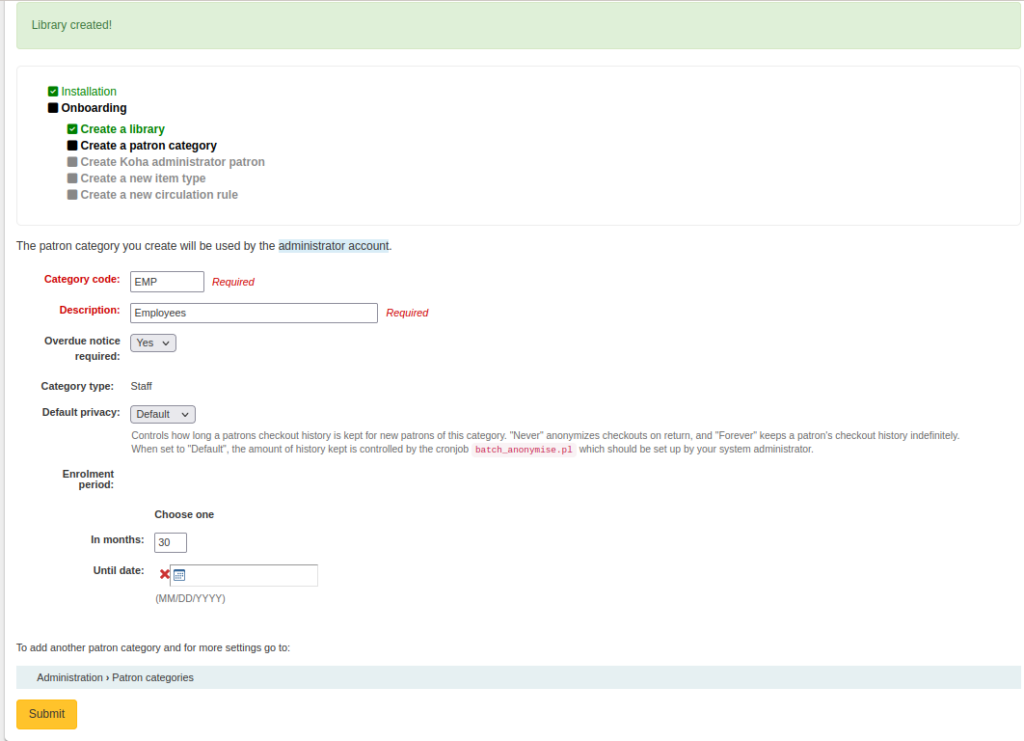
Next it will ask us to create a Primary Patron category. we need to create one category and we can create additional categories Latter
Next it will ask us to create an Administrator Account (Primary Account). Provide the details and click next
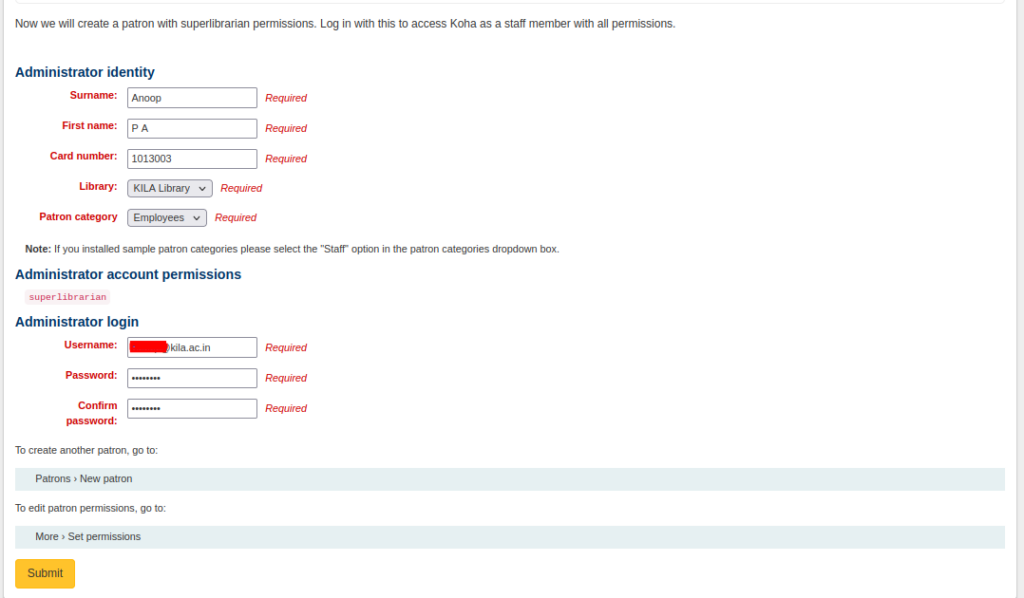
After This It Will ask for the primary circulation rule for the patron category we need to create it .
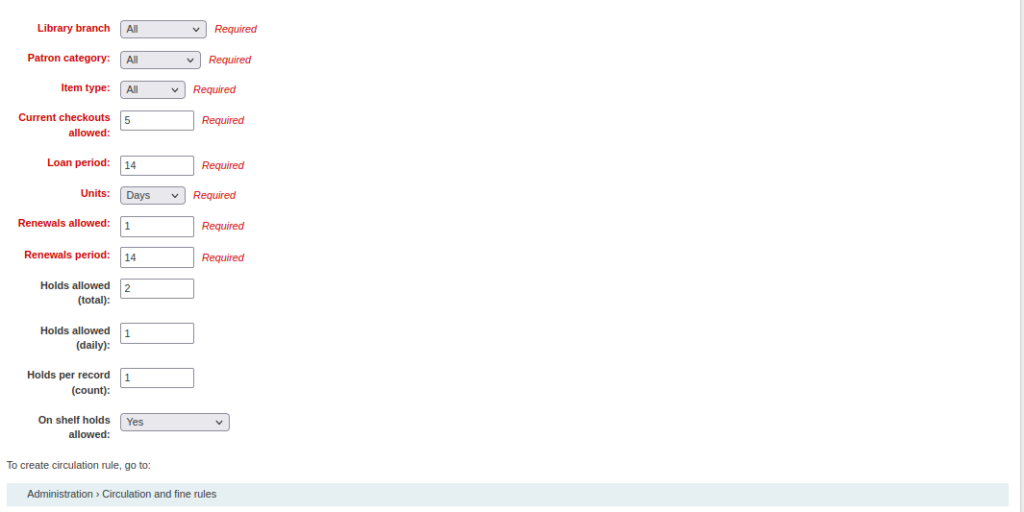
Click Submit Button. Now we have completed the On boarding Process
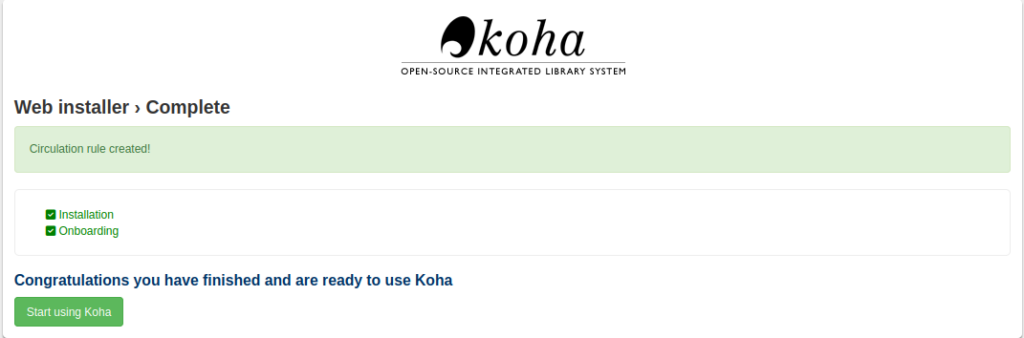
Click “Start using Koha” Button and Enjoy Koha
Option 2 : Using Koha From Pre-Configured Database
Step 1 : Download the Preconfigured Database from the above link and save it to your home folder
Step 2 : Restoration of Preconfigured Database to newly installed PC
Removing pre-existing database
Execute the bellow steps one by one
sudo mysql -uroot -p
it will prompt for a password . Type the mysql root password which you have entered during the mysql installation and press enter
it will take you to the mysql prompt. execute the bellow commands on that prompt
drop database koha_library;
create database koha_library;
quit;
Database Restore Process
execute the bellow commands in terminal
cd ~
sudo mysql -uroot -p koha_library < koha_library.sql
it will prompt for the root password of mysql. Type it and press enter and wait for the command to execute
Database Schema Upgradation Process
Database schema of pre-configured Koha database should upgrade to match with the new version. Apply following commands in a terminal one by one
sudo service memcached restart
sudo koha-upgrade-schema library
Rebuilding Search Engine Index
sudo koha-rebuild-zebra -v -f library
Restarting Web server to use New Koha
sudo service apache2 restart
sudo service memcached restart
Start Using Koha
Open the following link in the web browser to open the staff client
http://127.0.1.1:8080
The Default Username and Password for pre-configured database is given bellow. you can change it once after logged in
Username: librarian
password: kohauser